
Overnight Slow Rise Bread

So like everyone else right now, because lots of bakeries are closed, I’m doing a bake along. But forget sourdough, because really it’s just quite hard to get right, especially if you’re not used to baking bread. If you’ve not baked much bread before your chance of getting a good sourdough first time round is close to zero. So I’m doing a nice simple yeasted bread, if you can find yeast, shops are low on stock currently.
This is pretty much how we make all our yeasted stuff at the bakehouse, slow rise ambient temp overnight dough. 1000g White bread flour, 20g salt, 4g fast action yeast, 700g cold tap water. Throw it all in a bowl, mix anyway you like until its a shaggy mess, cover with cling film, or tea towel (@buzzbybakes tea towel not essential, any old one will do). Leave in your kitchen overnight, not too warm though. If you’ve got hot kitchen find a slightly cooler room. That’s it, we’ll carry this on tomorrow morning.


One additional note, if you can’t get yeast because stocks are low, and your building a starter, try making you bread in a loaf tin, you have to be a lot less precise and it gives you a lot bigger margin for error.
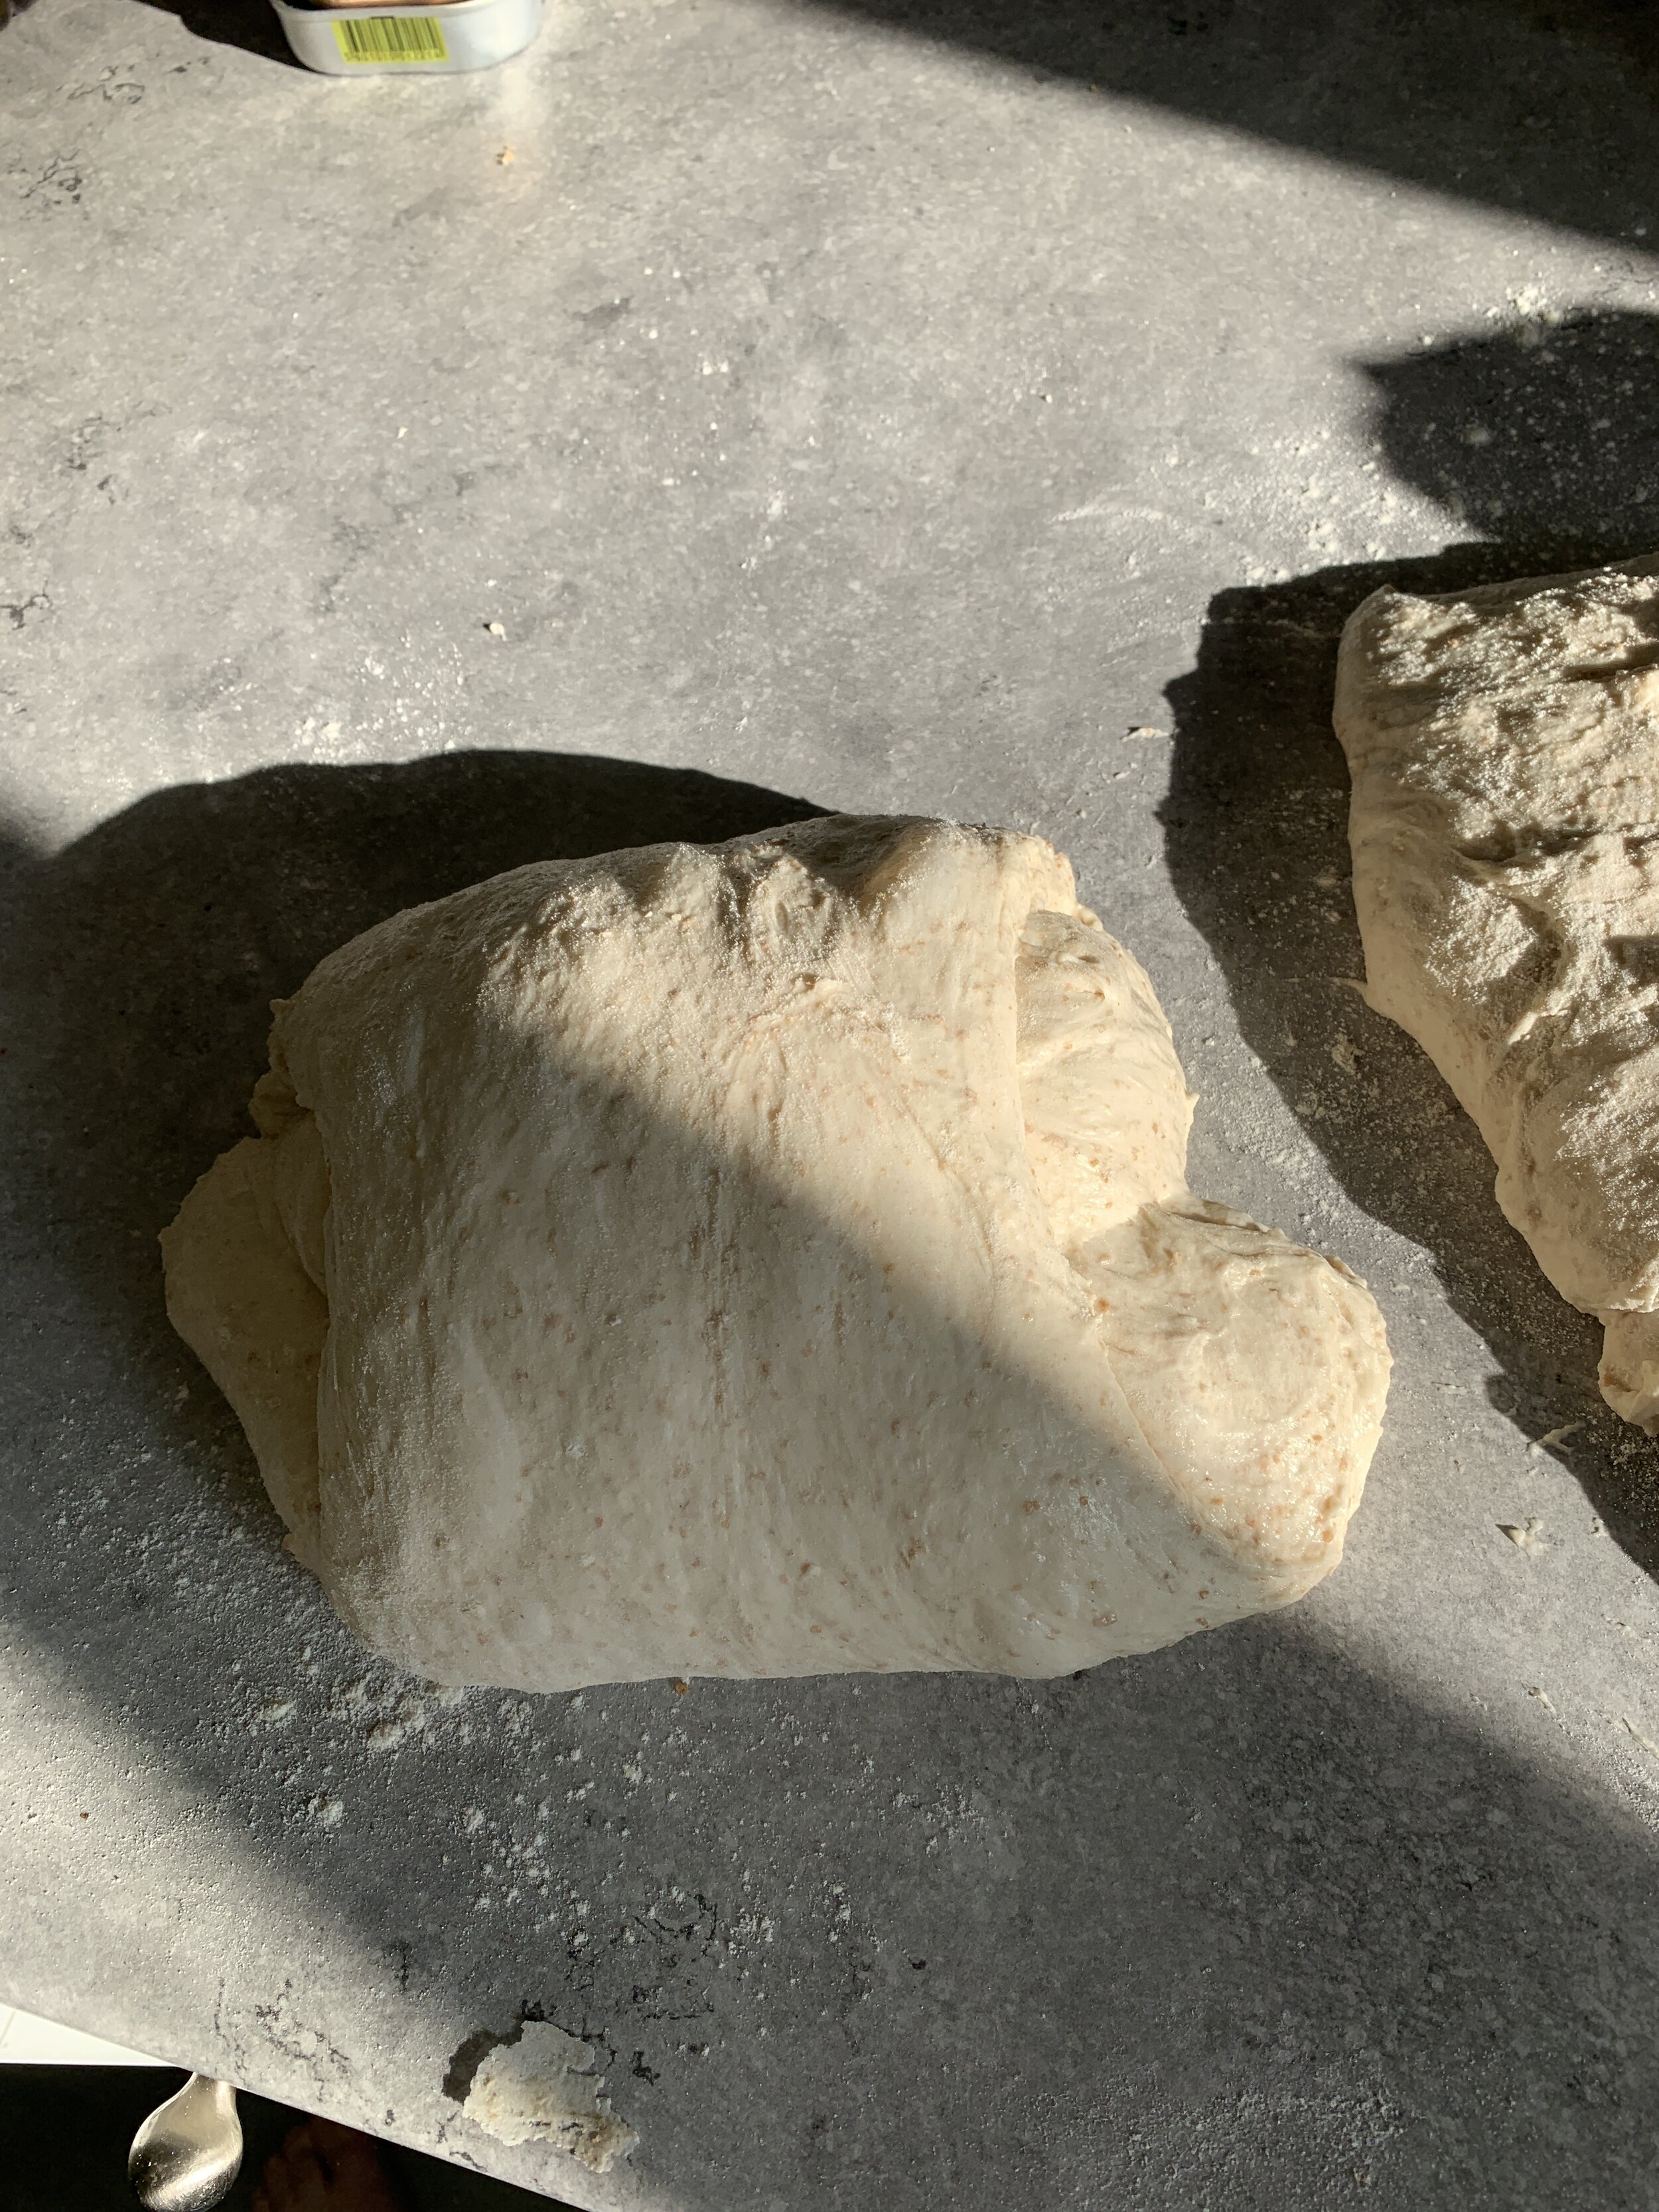
So here it is, after about 12-14 hours, I did this around 8am the next day. Your dough should have risen nicely, I think my yeast was a bit old and slow, it could have risen a touch more. This is fine though, I turn it out, divide roughly into two, I don’t weight it because I just can’t be arsed, but if you want to be precise it should be two loaves of 870g each give or take.
I take each piece, this is the hard bit, dust with flour lightly and fold up on its self one way, then the other to make kind of blob with a bit of tension in it. I do this with both blobs and then put them in a well floured proving basket. You likely wont have specific proving basket, you can use any bowl or wicker or plastic basket, round or oblong, put a clean tea town in it and dust with plenty of flour, like in the pic above.


That’s it, cover again with a tea towel and leave to prove, probably for at least 1.5 hours, maybe up to three depending on room temp and how active your yeast is. If you’ve got a proving setting on your oven or a nice warm airing cupboard wack them in there. As a rough rule of thumb, if you push the dough in with your finger, it will be proved properly when it springs back but leaves an indentation. If it doesn’t spring back much it’s under proved so leave it longer, if the indentation springs back and disappears it’s over proved, get it in the oven quick.
This is after than hour and half approx, you can see that the loaves have risen up and expanded in the basket, now’s time to get em in the oven. So put you oven on hot, really hot, 250 for fan oven or gas 9, or basically as hot as it will go. Now here’s an a fun bit, we’re going to bake in a cast iron casserole pot, because you want to bake the loaf in a sealed chamber, any large oven safe pan will do. The sealed chamber holds in the steam released from the bread, this allows the outer layer to stay damp which in turn allows it to expand more and produces better openings and ears and a lighter crumb.
So put you pot into the oven to heat, then one loaf first, once everything is nice and hot upend the dough into the pot. You can cut the surface with a knife of scissors to help expansion, put on the lid and throw into the oven. Wait 25 minutes.


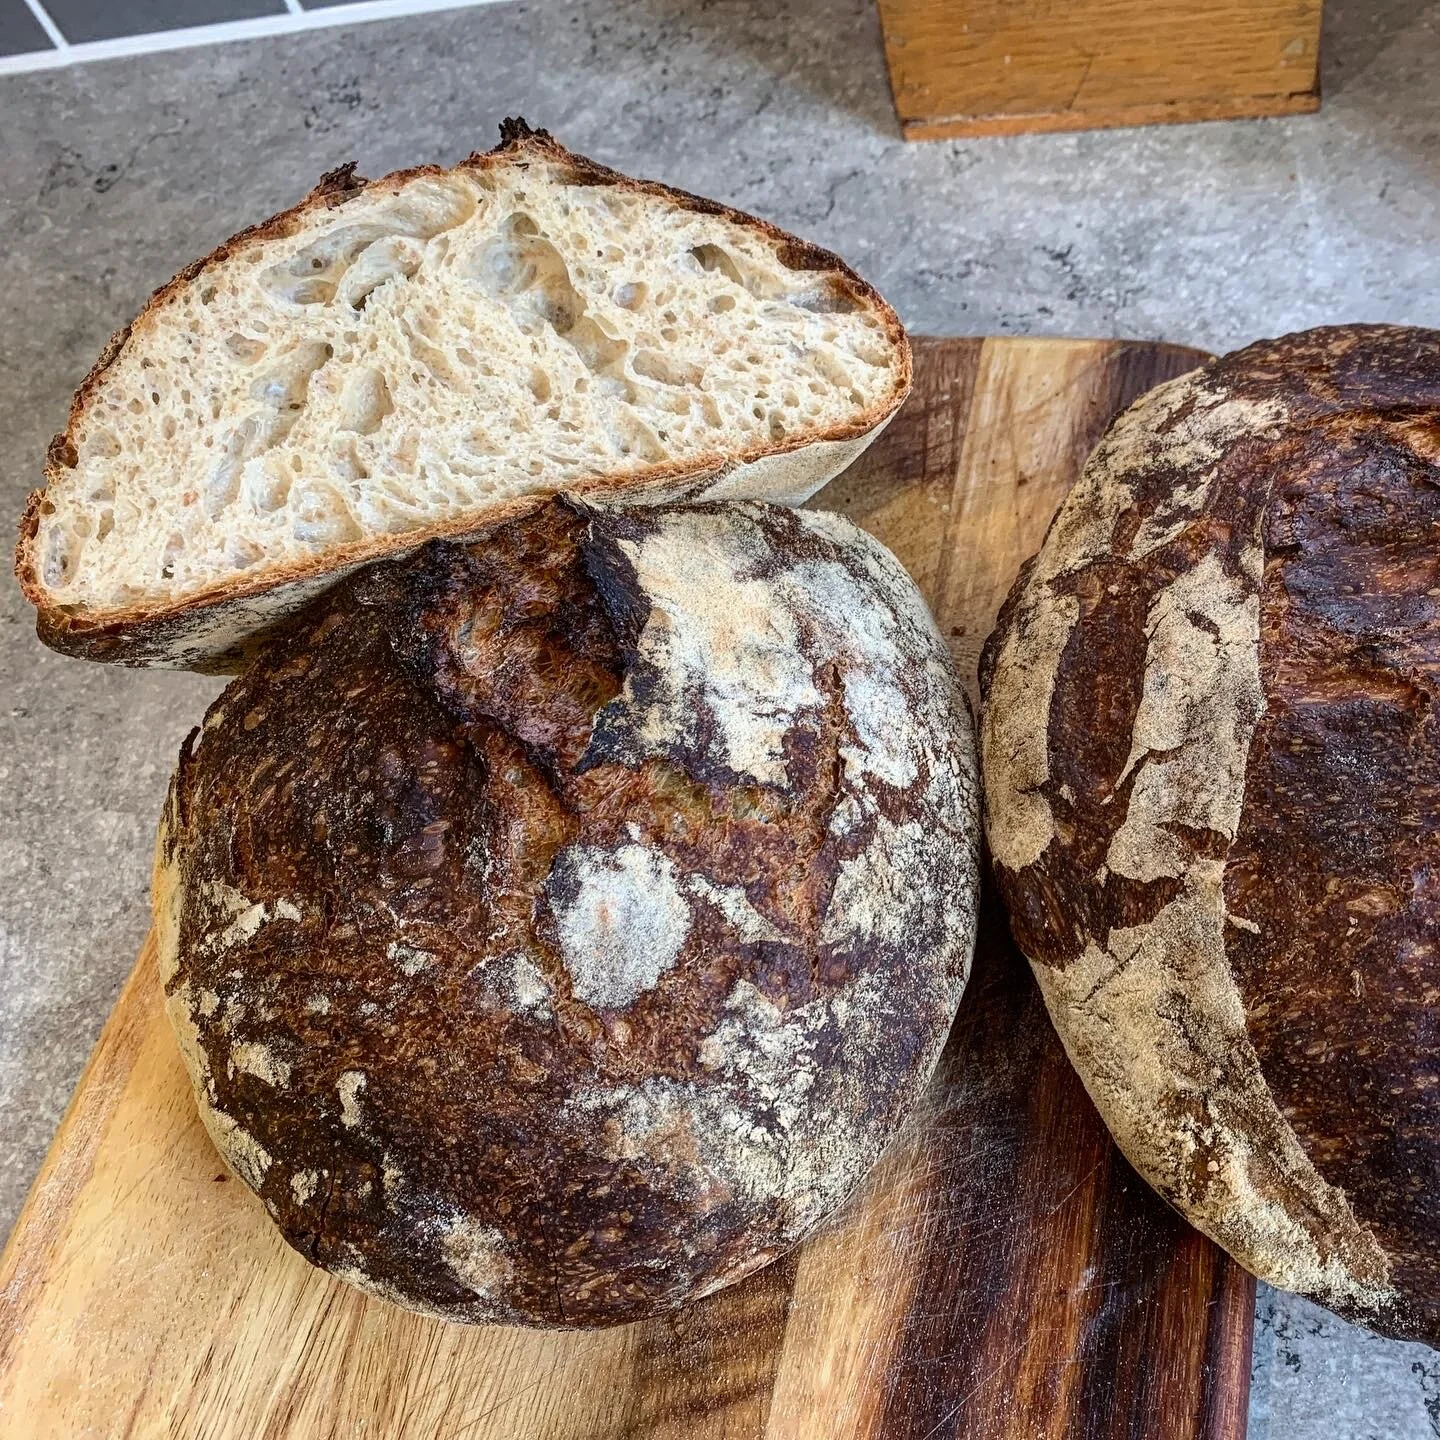

After 25 minutes open the oven and take the lid off the pot, now look at your wonderful loaf. Still pale and soft but it’s half way there, now with the lid off it bakes until its dark enough and baked through, at least another 20 minutes.
Once its got plenty of colour to it, take out the oven and allow to cool, repeat with the other loaf. After that, all you have to do it cut a think slice and cover it with more butter than is medically advisable.